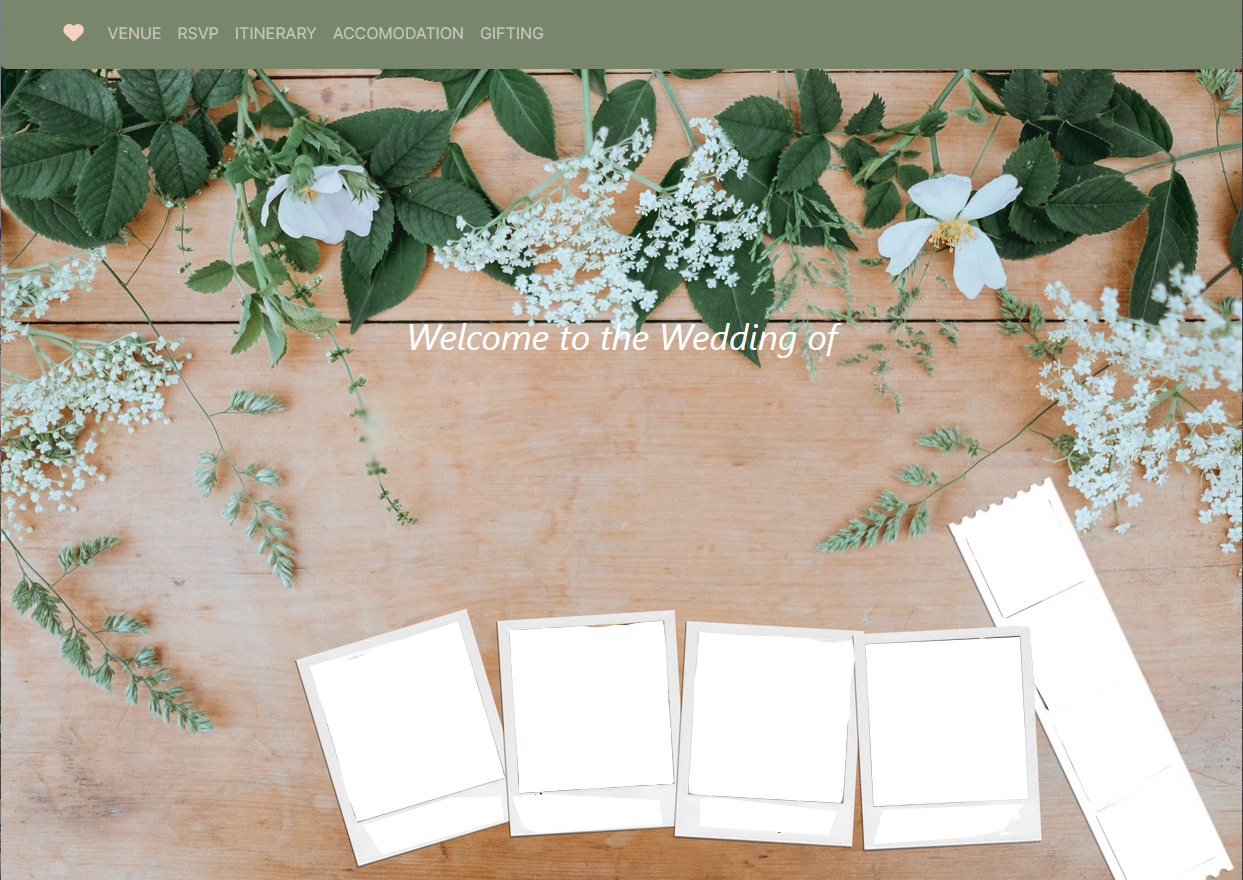
It's been a pretty fun project, being able to use my creative and developer sides by making some of the components and the images myself.

Last time, we went into the world of authentication. Today, let's shift our focus to another crucial aspect of wedding planning: RSVPs. Let's say you've sent out your wedding invitations, and now it's time for your guests to respond. But here's the challenge—some guests RSVP solo, while others come with a +1 and others with their family.
So, what we needed was a system where guests could log in, when they login it should know who they are and include their group members, making it a smooth experience for the user and allowing them to effortlessly fill out their RSVP forms. Oh, and let's not overlook the catering to different age groups. We have menus for the adults and a set for the little ones too, so naturally, we require RSVP forms customized for each group.
It's got a few parts to consider that at first glance you might not have thought of, but let me walk you through how I tackled it.

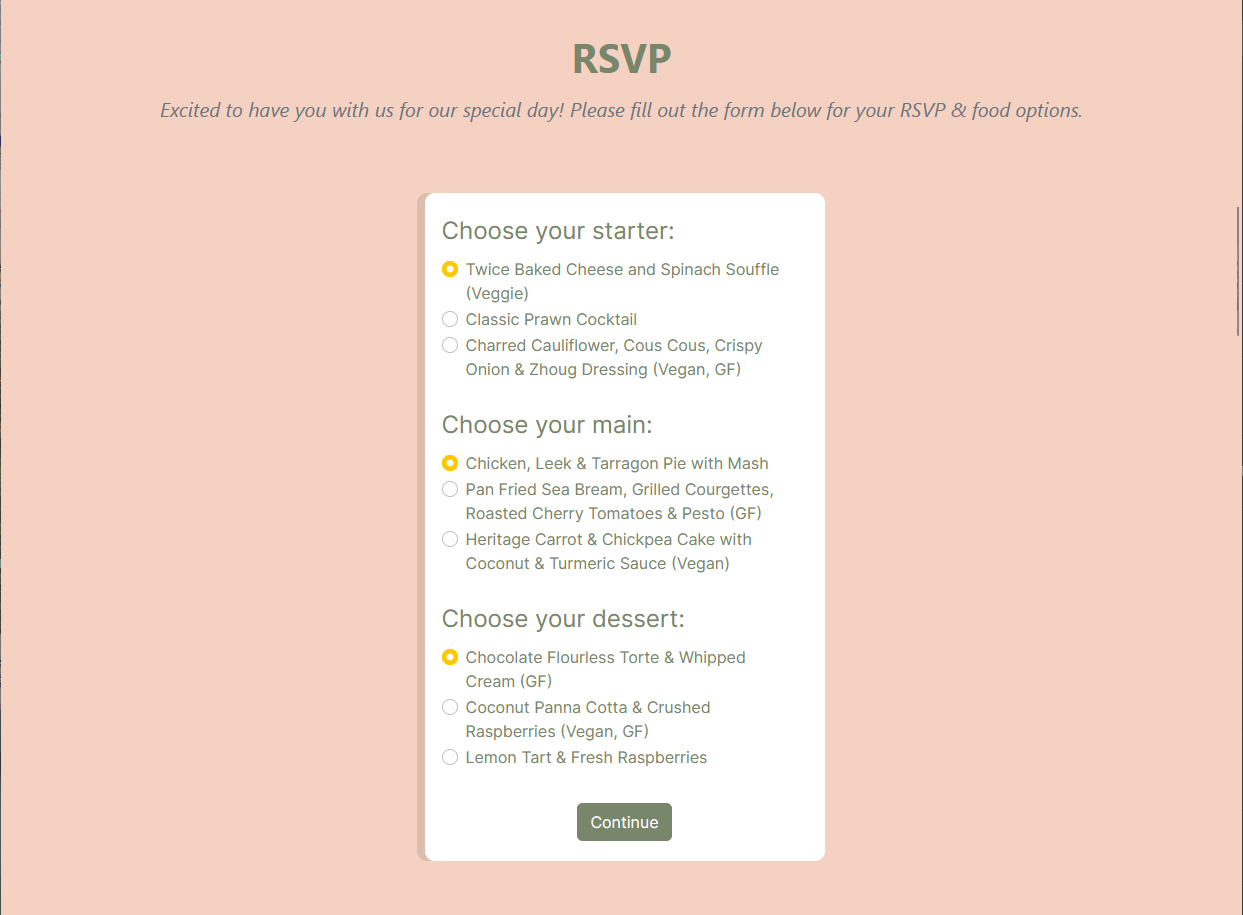
In the image above, you can see the card component I've created. This card represents a guest's RSVP form. Let's dive into how we arrived at this point. From a coding perspective, after a user logs in through our authentication system (as demonstrated in our previous discussion), we have access to the data stored in our database. With this data, I dynamically generate a card for each guest:
// Define the PartyType type, which represents the structure of party data
export type PartyType = {
  id: number;
  name: string;
  rsvp_response: boolean;
  first_course: string;
  second_course: string;
  third_course: string;
  child: number;
  allergies: string;
};

...

// Function to generate the specified number of form components based on party data
function numberOfComps(number: number, party: PartyType[]) {
  for (let i = 0; i < number; i++) {
    // Generate a form component for each party member
    numForms.push(<FormMenu key={i} party={party[i]} />);
  }
  return numForms;
}

...

// Render the form components within a container on the webpage
<Container className="row m-auto d-flex justify-content-center container">
    numberOfComps(loggedInContext.party.length, loggedInContext.party)
</Container>
In the code snippet above, I introduce the PartyType type, a structured representation of party-related data. This PartyType definition is stored within a context in my Next.js application. This context acts as a repository for essential guest information, facilitating their interaction with the RSVP form. By defining PartyType as a TypeScript type, I establish a clear blueprint outlining the specific data fields and their corresponding types, enhancing code readability and enforcing type safety within the application.
The numberOfComps function, another key component of this implementation, leverages the PartyType definition to dynamically generate form components based on the guest data stored in the context. This function iterates over the provided party data, creating a form for each member of the group. Whether the party consists of one guest or multiple individuals, this function adapts accordingly, ensuring that every guest is presented with an appropriate RSVP form.
Lastly for the rendering of the form, the rendered form components are seamlessly integrated into the webpage layout, thanks to the flexible rendering approach adopted in Next.js. Whether there are ten guests in a single party or just a few individuals, the webpage dynamically adjusts to accommodate the varying number of form components. This dynamic behaviour enhances the user experience, providing a streamlined RSVP process tailored to each guest's needs.
Now all I needed was to use the data I had stored above to give an individual form to each guest that when filled out stores that information in their partyType stored about them I won’t bore you with all the components I used inside these forms or the little personalisation’s so here is a quick pseudo code explanation of the logic:
// First, initialize the form state to welcome the guest and inquire about their attendance.
formState = 1

if formState == 1:
    // Display welcome message and attendance response.
    Display "Welcome {party.name}"
    Display "Are you attending? [yes] [no]"
    formState = 2

    if attending == true && formState == 2:
        // Determine menu selection based on guest age.
        if child == false:
            Display "<Adult menu>"
        else:
            Display "<Child menu>"
        formState = 3

    if formState == 3:
        // Collect allergy information.
        Display "<Allergies form>"
        formState = 4

    if formState == 4:
        // Display confirmation message.
        Display "Thank you for responding!"

else:
    // Display thank you message if guest is not attending.
    Display "Thank you for responding!"
Once the information about the guest had been collected it was then sent into the database so that we could get the information for the guests and could send it off to the caterers.
I hope you enjoyed hearing about how I tackled this problem
It is always a rewarding journey bringing these different ideas together from doodles to finding the things what work and things that weren't originally the best ideas are all part of it! Plus planning a website and delivering it ahead of schedule always a positive 😁